Five-Step Red Dot Zero Saves Ammunition and Ensures Hits
Your red dot sight only works as well as its zero. Without proper alignment between reticle and bullet impact, you're shooting blind downrange. The process requires five deliberate steps that any shooter—whether carrying daily or running competitions—can execute at the range to confirm hits where the dot points.
The five-step zeroing sequence addresses mounting, bore alignment, target distance, sight adjustment, and confirmation. Each step builds on the previous one to eliminate guesswork. Shooters who skip these fundamentals waste ammunition, develop inconsistent groupings, and train themselves to anticipate shots rather than trust their optic. Even slight misalignment compounds downrange, turning a defensive or hunting shot into a miss when it matters.
Why It Matters for Gun Owners
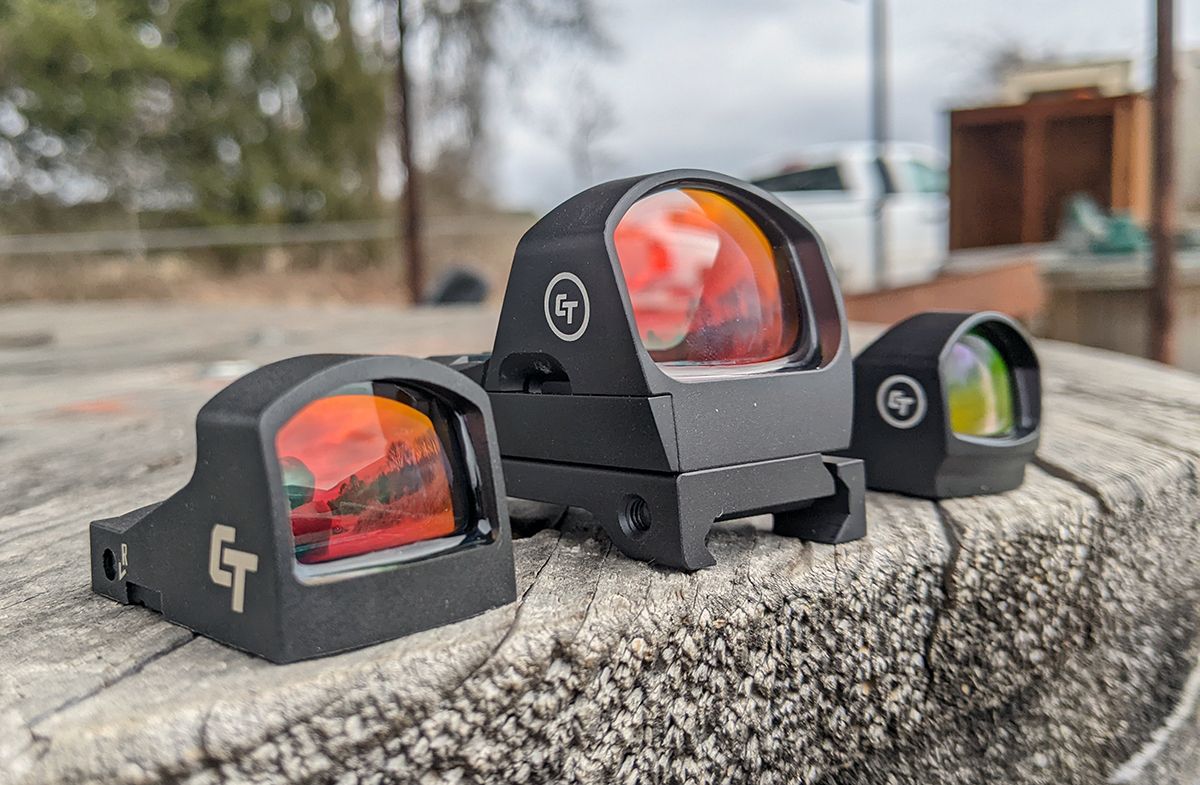
Carry guns and competition rifles both depend on reliable optics. A red dot that tracks your point of aim saves seconds in defensive scenarios and tightens shot groups under pressure. Whether you run a SIG SAUER Romeo5, Holosun HS507K, or budget Primary Arms optic, zeroing protocol stays consistent across platforms.
Hunters relying on red dots for close-range deer or hog hunting cannot afford a cold-zero rifle in the field. One missed shot means lost game and wasted opportunity. Competitive shooters chasing precision at 25 yards or 100 yards depend on confirmed zeros between range sessions. Defensive carriers need absolute confidence that rounds impact where the red dot rests on target.
Spending 30 minutes at the range to confirm zero saves boxes of ammunition and eliminates the frustration of chasing shots across paper. A properly zeroed optic builds muscle memory and confidence when seconds count.
The Five-Step Method Explained
Step One: Mount Your Optic Correctly Secure rings with proper torque values (typically 25-30 inch-pounds for picatinny mounts). Clean your rail of dust and debris. A loose optic shifts zero unpredictably and wastes range time.
Step Two: Establish Bore Reference Fire a three-round group from a solid rest at 25 yards without looking through the optic. Mark the center of those impacts. This shows where your barrel actually shoots.
Step Three: Align Reticle to Bore From a stable bench rest or shooting bag, position your red dot center over the bore-reference group. Do not fire; adjust your sight mechanically to match bullet impact on paper.
Step Four: Fire Confirmation Groups Shoot three five-round groups at 25 yards from a steady platform. Each group should cluster within 1 inch. If shots spread wider, your fundamentals are failing, not your zero.
Step Five: Distance Verification Move to 50 yards and fire a three-round group. Confirm the dot still centers your impacts. Extended distance testing reveals mounting issues that 25-yard zeros hide.
DownRange Bottom Line
Red dot optics have replaced iron sights for most shooters because speed and accuracy improve when reticle and bullet impact align. This five-step method works because it removes variables systematically. You don't need fancy tools or advanced training—just ammunition, a stable rest, and 30 minutes. Before carrying your pistol, before hunting season opens, before your next match, confirm that zero. Your miss-or-hit margins depend on it.